

Once the construction drawings and other related documents have been completed and approved by the authority in jurisdiction. The project will then be awarded to a contractor by the client through a consultant. In this period, the construction of the proposed project will begin.
The aim of this article is for the newbie and newly graduated Civil Engineers to give them an idea of how the actual construction works and completed prior to architectural works. Here are the checklists of actual site construction:
1. Clearing of the Ground
To begin the actual construction, the clearing of the ground from where the location of the project will be built is the first thing to consider. In this activity, the construction personnel task is to free the construction site for any obstruction and debris that may obstruct and delay the construction. The temporary facilities such as Engineers office, labor’s quarter, material storage room, temporary water, and electric supplies and other related facilities should also be constructed prior to the start of work. A site perimeter fence should also be constructed during this period.
![]()
Temporary Facilities and Ground Clearing in Progress
2. Site Layout and Staking
This activity involves the setting of the reference points in a form of construction grid lines and marking off the gate level. This is performed to ensure that the grids have been set up on site according to approved plans. The reference point should be marked properly and should not be disturbed throughout the course of the construction. Gridlines according to the approved drawing should be layout prior to construction. Depending on the complexity and size of the project, the construction grids can be layout through the use of theodolite or related surveying instruments.
A more traditional way of the layout of the construction grid is popular to use for small projects is through staking using batter board and strings. Batter board are temporary wooden frames use to suspend the strings. The strings are the representation of the grid lines at X and Y directions according to approved plans. These will serve as a guide throughout the construction, so it is important to fix a reference line in both directions to be used once the grids have been placed when needed in the construction.
Staking Using Batter Boards and Strings
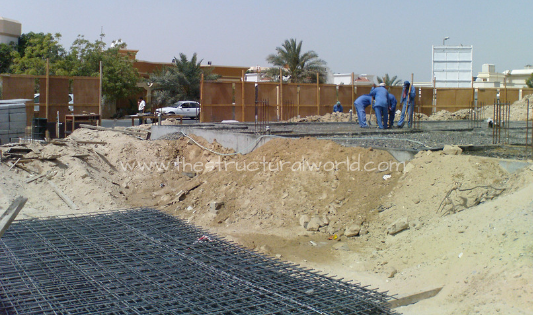
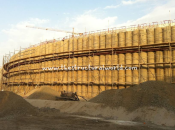
3. Excavation
Once the layouts of construction points and grid lines have been completed, the excavation works begin. The excavation depth depends on the recommendation by the soil investigation report. But it is safe to say that the minimum excavation level for the footing to rest should stick to 1 meter below the gate level or the 0.00 level. Excavation works is a massive activity, therefore a proper caution should be observed during this stage. In the event that the excavation needed is along with the neighbor’s existing structure exceeding 1.20 meter from your proposed level, then shoring support is recommended.
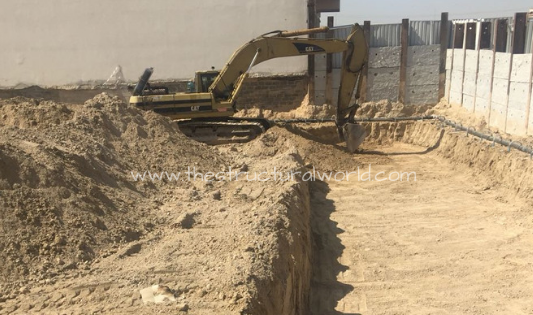
Site Excavation Works
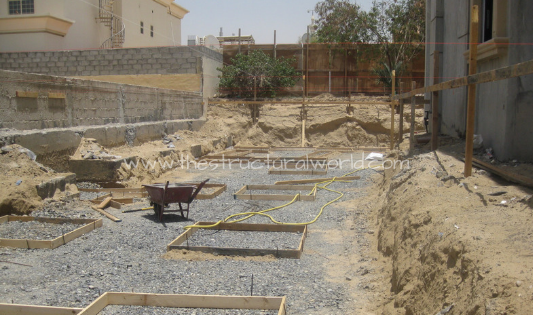
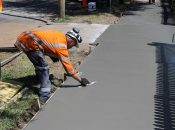
4. Compacting & Laying of PCC
Compacting of the excavated surface should perform once we reached the desired excavation level. A layer of crushed gravel is then to be added during the compacting. In a standard compaction procedure, the final compacted layer should be checked in order to reach the desired degree of compaction to not less than 95% of the maximum dry density. It is then in this stage that an anti-termite treatment on the ground should also be considered.
The laying of PCC or plain concrete cement should follow afterward in preparation for rebar works. PCC is usually composed of a 10 mm thick lean concrete for the footing rebar to be laid evenly leveled.
Compacted Formation Level Ready for PCC
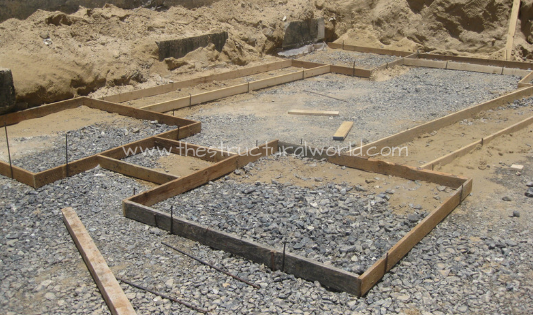
5. Foundation Rebar and Column Starter Bars
Once the laying of PCC has been set-up, the rebar works for foundation and any foundation beams are the next activity. In this stage, the reinforcement of foundations is being prepared according to the structural schedule along with its formworks. The proper and standard concrete cover should be observed during this procedure. Starter bars for columns should also be installed accordingly before concrete pouring.
Foundation Shuttering and Column Starter Bars Installation
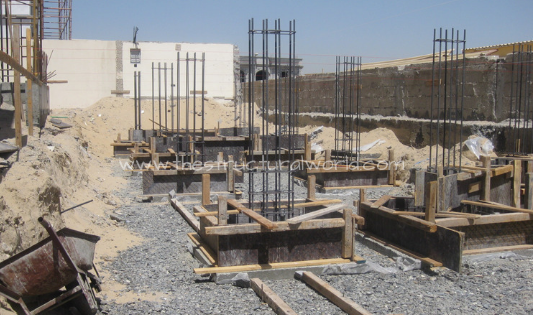
6. Concreting of Foundations and Column Rebar Installation
Concreting of foundations has to come next after the rebar works. The concrete to be poured should be properly vibrated for the concrete especially the aggregates to fully spread into the footing. Installation of column reinforcement on the previously installed column starter bars should be continued. A proper concrete cover should consider before closing the form works. For substructure columns, an additional concrete cover of at least 50mm has to be considered up to plinth level to protect the rebar for possible corrosion due to sulfate attack.
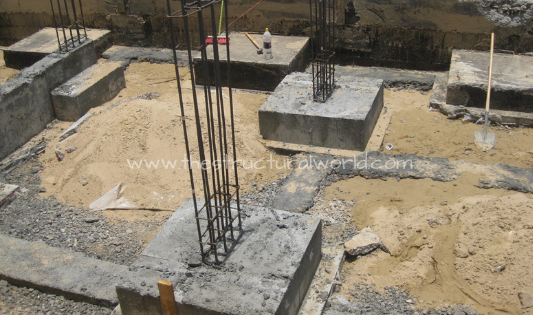
Newly Poured Footing Showing Column Starter Bars
7. Concreting of Column & Bitumen Paint Applications
Once the concreting of stub columns has been completed. Give time for the concrete to dry completely and apply at least two coats of bitumen paint for both footing and stub columns. Bitumen paint helps in absorbing moisture due to the soil to prevent seepage into the substructure concrete.
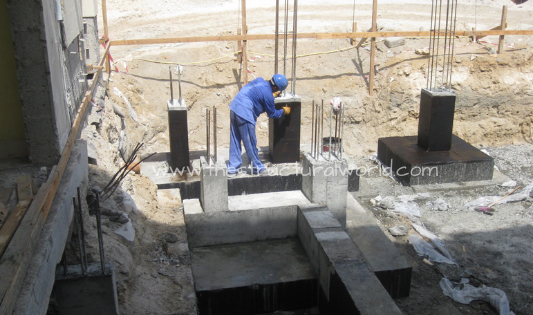
Bitumen Paint Application in Progress
8. Setting Up Perimeter Blocks
Install solid blocks along the perimeter or the edge of the proposed project. This is to establish a boundary between the inside and outside edges of the project. It is also helpful when the difference of inside floor finish level to outside pavement or ground level is significant. Two coats of bitumen paints should also apply afterward. In some cases, perimeter blocks are optional especially for areas where the soil characteristics are too firm.
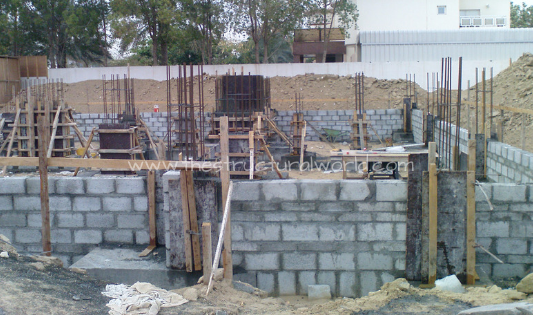
Laying of Substructure Perimeter Blocks
9. Backfilling and Compacting
Once the substructures like foundation structures including the solid blocks have been installed completed, backfilling and compacting should take place. Backfilling and compacting should be done partially to make sure that the required degree of compacting has been met until reaching the bottom of the tie-beam level.
Newly Backfilled Ground Surface for Compaction
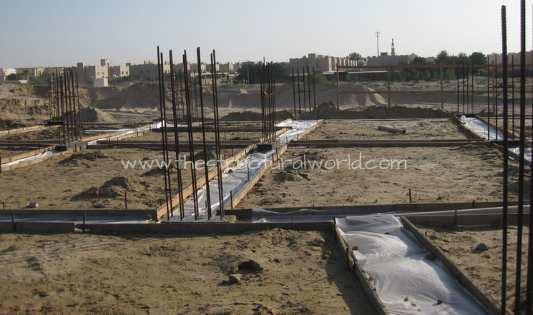
10. Tie Beam Reinforcement, Grade Slab, and Concreting
Preparation and installing the tie-beam reinforcement as per the approved drawing is the next step to consider after the backfilling and compacting. Formworks with standard concrete cover is also included in this stage. Once the reinforcement works have been completed we can start the concreting. Installing of grade slab mesh and concrete work is then to be followed.
Compacted Ground for Grade Slab Mesh Installation
11. Rebar Works and Concreting of Columns
At this stage, the substructure component of our project has been completed. It is now time for the project to go up. The next thing to consider is the rebar works, shuttering or formworks and concreting to be done. Prior to concreting, we see to it that the columns followed the structural schedule, the form works should be vertically level and a standard concrete cover has to maintain prior to the closing of forms.
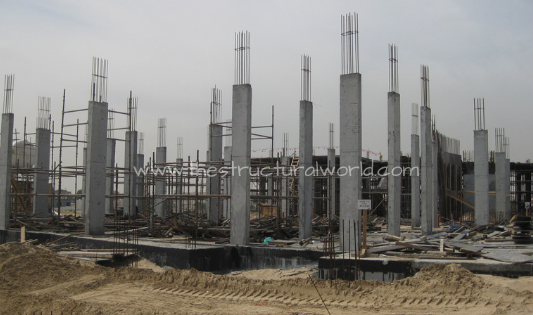
Newly Casted Columns
12. Beam and Slab Works
Once the ground floor columns have been cast, it is time to prepare the project for beams and suspended slab reinforcement activity. Like any other structural members, beams and slab reinforcement should be followed strictly. Shuttering or form works for slab and beams should be properly anchored and checked prior to concrete pouring.
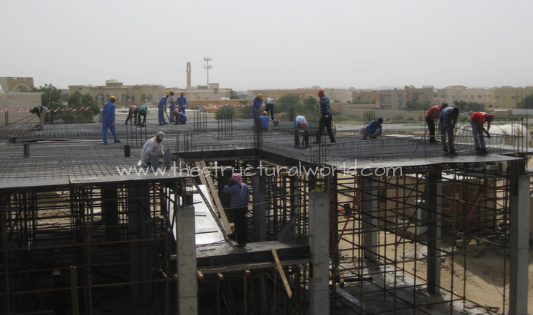
Beam and Suspended Slab Reinforcement in Progress
The above process starting from step 11 can be repeated accordingly until such time that the structural frame or the core and shell of the structure has been completed. The architectural finishing works is then be followed.
What do you think about this article? Tell us your thoughts, leave a message on the comment form below. Leave a comment on the section below. Subscribe to our newsletter to be updated with the latest posts or follow us on our social media pages on the below icons.
[DISPLAY_ACURAX_ICONS]


Thanks to your article, I now realize the importance of having some precautional steps during an excavation process. One of my friends just bought a piece of land downtown and wants to turn it into a bookstore. I’m sure it would be better if he consults with an expert regarding this matter.
Do you put anything between your dry footing and your wet concrete when pouring your pedestal?
It should be cleaned and laitance removed before new concrete is placed. Part of the surface of the dried footing should be intentionally roughened to increase the bond strength and to provide an aggregate interlock.
Hi there! It’s me again. I just wanna thank you for the quick reminder on the need to excavate at least 3.5 ft. to allow the footing to stay. This reminds me of my cousin who’s currently involved in the construction of a hardware shop. I’ll forward this article to her so she’ll know what to do later.
Sure. Thanks, Amy!