
Fine tuning of the ETABS model before the analysis and design is necessary to make sure that our model is free of errors and warning messages. As these errors may affect the output results if we are not doing so. After we finish the ETABS modeling geometrically and assigned the necessary parameters, the next thing to consider is to review the model. But how are we are going to do that? The author lists the three major steps to be done in the model before the analysis and design proper.
This article was intended for newbies or those engineers that considered themselves as a beginner in ETABS. Those advance ETABS users probably knew the 3 major checks already and can be refreshed by reading this article. For the sake of discussion ETABS 2016 has been used in this article.
1 Check the Model Menu
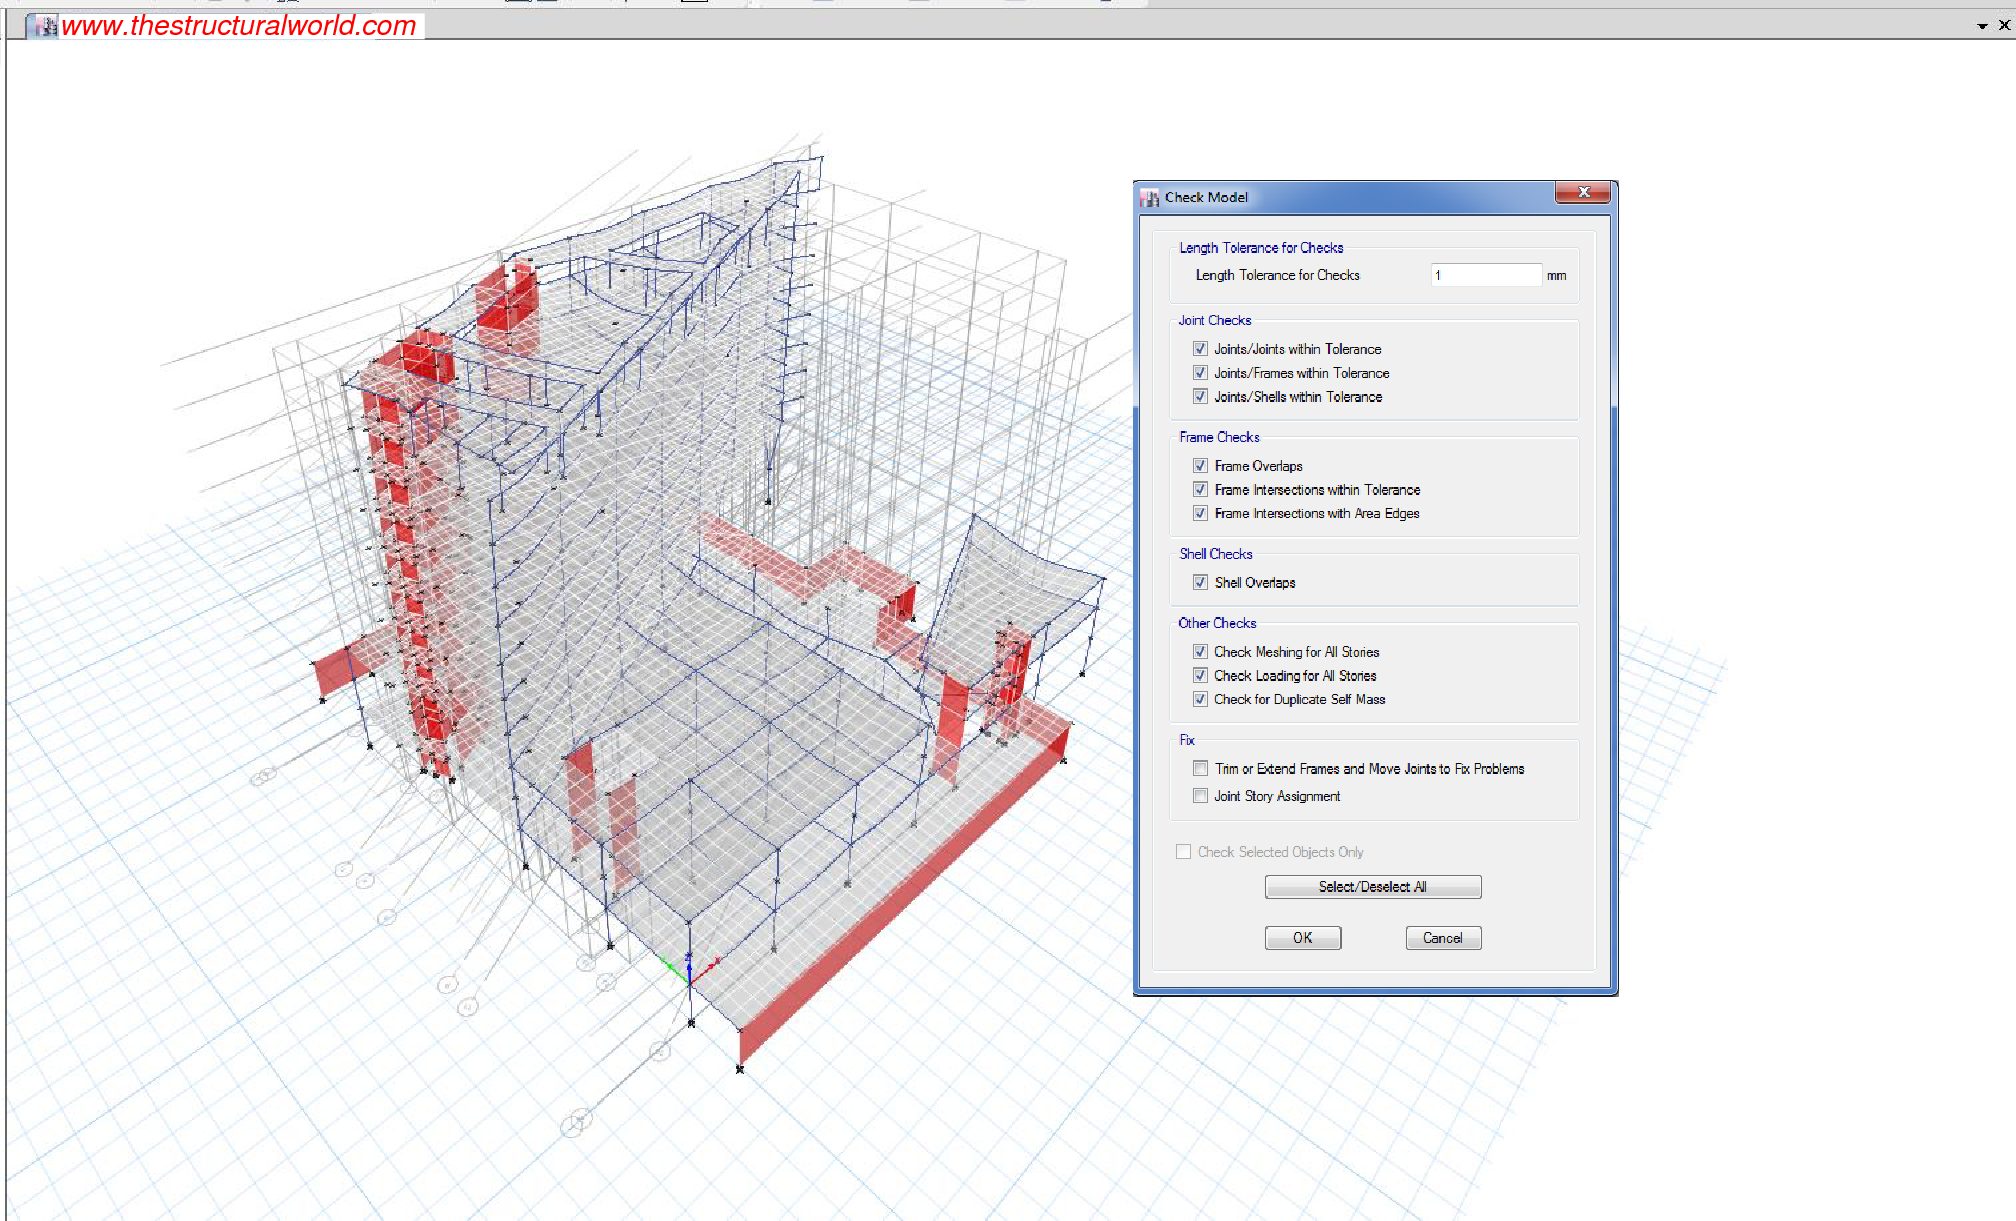
One of the checks to consider in ETABS Model is through the Check Model menu. Under this menu, the following are the checks that we can consider:
- Joint Checks
- Fame Checks
- Shell Checks
- Meshing and Loading Checks
The above checks can be found in Analyze>Check Model and the Check Model window will appear as per the Figure 01 below. You can tick all the boxes under these options and press “OK” to start the model check but to save a significant amount of time, it is recommended to tick the boxes separately under the checks in consideration. For example, you can tick first the boxes under the Joint Checks, press OK and wait for the warning messages window to display. Do these checks in other remaining checks for the frame, shell, and other checks options and see if you got any warnings. In the event that you have any warning messages, it is best to eliminate first those warnings before going into other checks. You can move on to the other checks if you got no warning messages as shown in Figure 02 below.
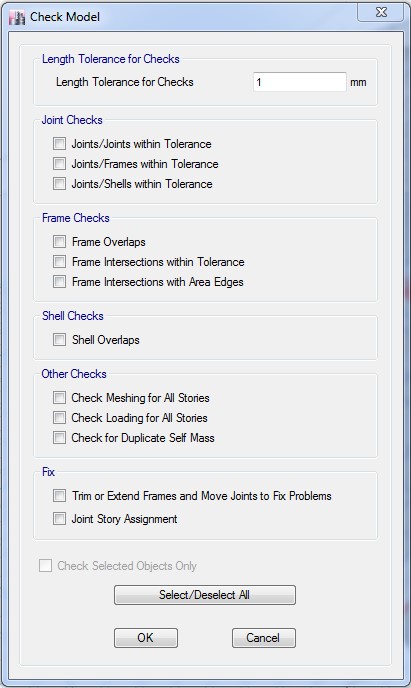 Figure 01: Check Model Menu
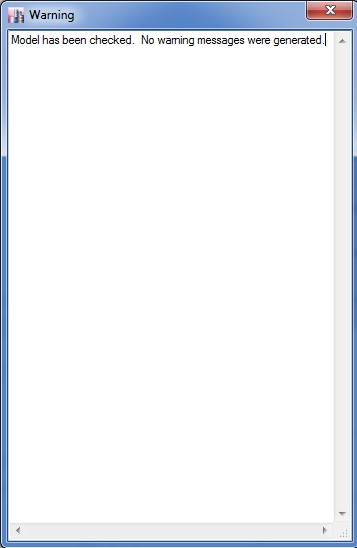
Figure 02: Warning Window
Tips in Eliminating the Warning Messages
If in case you did not get the message “Model has been checked. No warning messages were generated”, numbers of warning messages will display with the locations and coordinates of where to check will appear. After closing the warning dialogue box, the elements that contain errors will be automatically selected and highlighted by ETABS. Don’t click anywhere else just yet, instead assign these elements into a group by going to Assign>Assign to Group. This is to locate these error elements easily anytime during the modification process. You can also copy and paste the warning messages into a text or word file before closing the window if in case you want to check it by coordinates one by one.
2 Checks for Base Restraints
This is the common mistakes of some beginners during the modeling; they often forget to support the base of the model that will lead to model instability. Before going into the Run Analysis, see to it that your base has been assigned with restraints, e.g. fixed support, pinned support, otherwise, errors related to negative stiffness is probably the warnings and your model will become unstable. To assign restraints, select all the nodes in the base and go to Assign>Joint>Restraint and press the type of support that you need as shown in the image below.
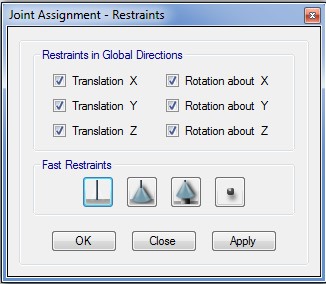
Joint Assignments Restraints
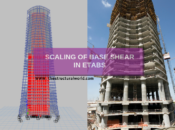
3 Checks for Last Analysis Run Log
After you are done with the first two checks above, run the model for the first time and investigate once more the Last Analysis Run Log for any errors after running. To show the Last Analysis Run Log Go to Analyze>Last Analysis Run Log and the Last Analysis Run Log dialogue box will appear as per the image below. If you want to print the analysis log, you can go to File>Show Input/Output Text Files and press “OK”.
What to do if you got an instability message? Sometimes you will find these errors of instability and this is related to negative stiffness. To fix the instability error, you can refer to our previous article ETABS Instability Messages for further details on how to address it.
You can do the 3 checks above all over again until you have no warnings at all. When you think that you cleared all the 3 major checks as stated above, then you are good to go and you can move on to next stage of Dynamic Analysis and Design which we are going to discuss in the upcoming articles. So stay tuned or subscribe to our newsletter for any updates!
What about you? How did you check the model before the analysis and design? Do you have any other way to make the checks faster? We’d love to hear from you! Please leave a message on the comment form below. If you find this article helpful and interesting, please share this article and follow us on our social media pages by pressing the icons below.
![]()
 Copyright secured by Digiprove © 2018 The Structural World


The type of solver set for analysis will differ, The Standard Solver offers the most extensive reporting on instabilities that are encountered. The Advanced Solver is the default solver and is considerably (one or two orders of magnitude) faster than the Standard Solver. Although the Advanced Solver will report instabilities in the model, it will not provide any information about their location.
Pingback: 3 Major Post Analysis Checks in ETABS | | The Structural World